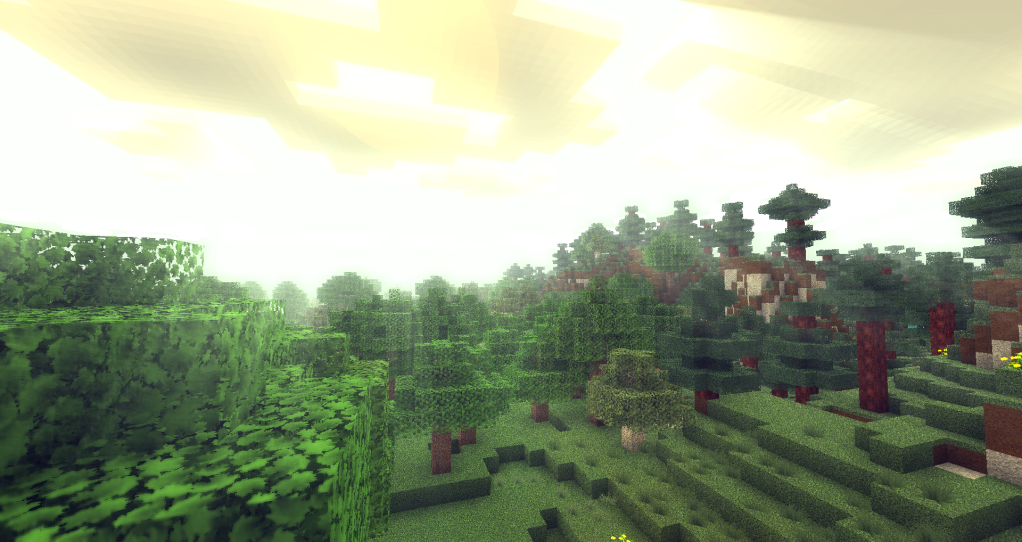
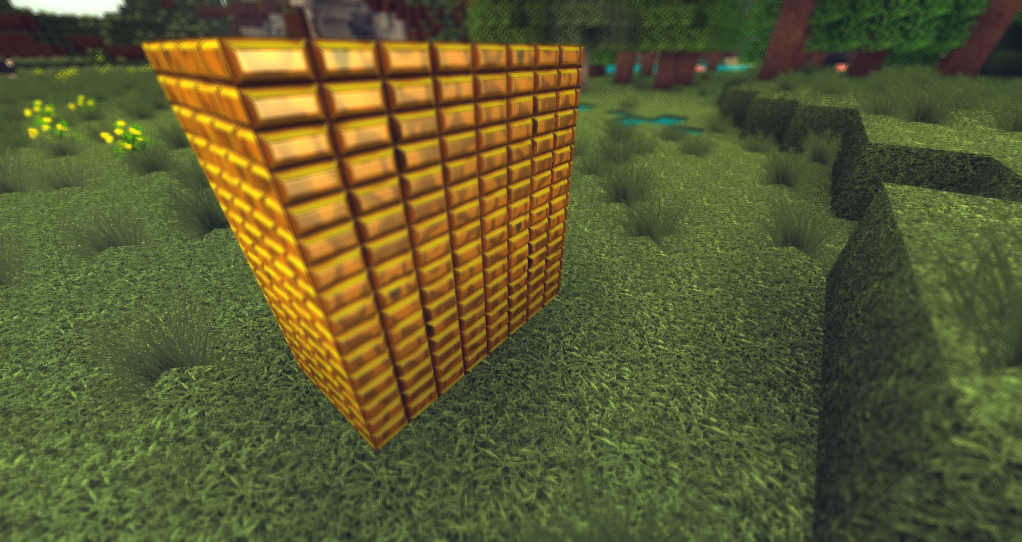
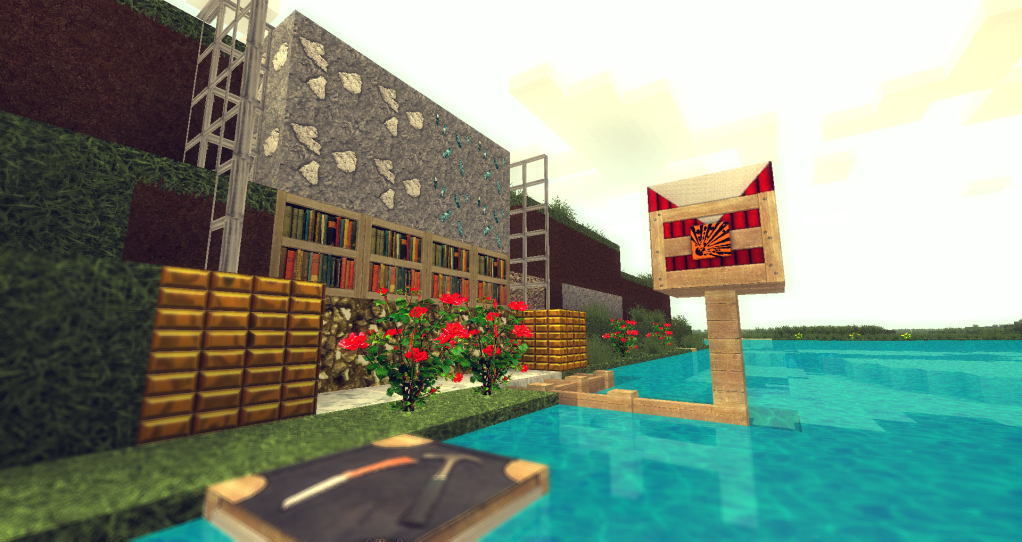
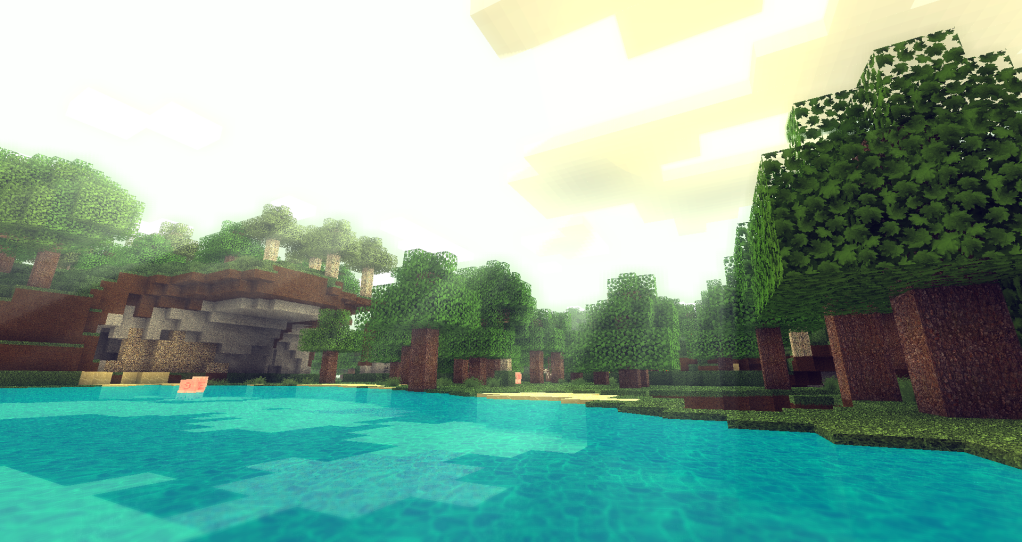
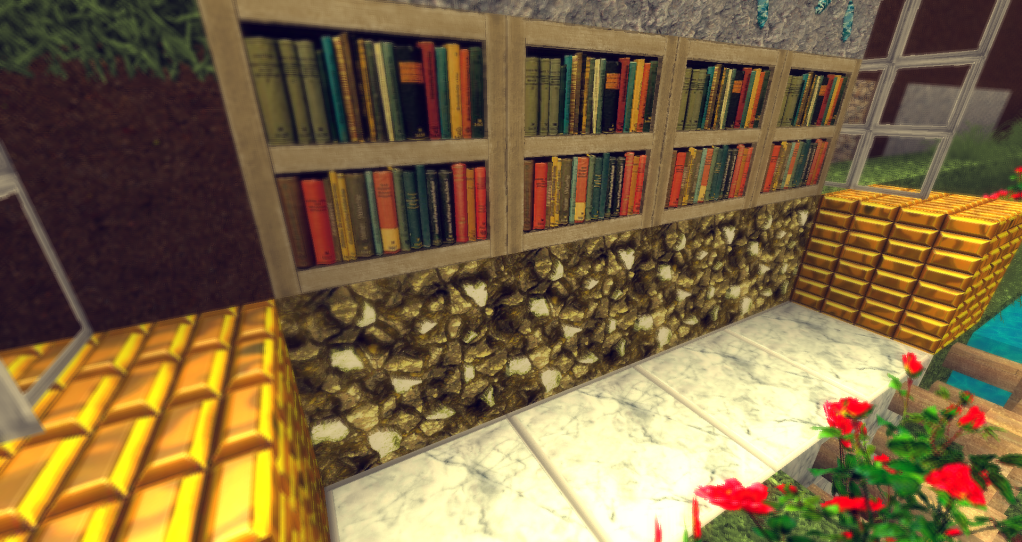
After hundreds of fail attempts to install the shades, bump-mapping, and textures I finally succeeded.
The result is so brilliant that I think putting up this little tutorial is necessarily.
Before we begin, please note that this is best done on a Minecraft client that has no mods. Also please don't try this on a low end computer, for your own sake. One more thing! get Optifine STANDARD at http://www.minecraftforum.net/topic/249637-100-optifine-hd-d3-fps-boost-hd-textures/ <--instructions are on that page.
Step 1. Get the texture pack: http://www.minecraftforum.net/topic/191915-256p100-balea-v32-beta-glsl-support-update/
Step 2. Get the GSL shader mod: http://www.minecraftforum.net/topic/120261-v100-glsl-shaders-dof-bump-mapping-waving-wheat-and-more/
Step 3. Open the GSL shader mod with Winrar.
Step 4.Click the "INSTALLER.exe" and click install mods.
Step 5.Go into the shader folder and click Mods/Shaders/Alternative Shaders/Bumpmapping.. copy all the contents of that folder into your Minecraft.jar/Shaders folder. (if there is no shaders folder create one)
Step 6. Go to http://daxnitro.wikia.com/wiki/Alternative_Shaders_(Shaders2)
Step 7. The third point down there are 2 links http://pastebin.com/zipUfGgr AND Link:http://pastebin.com/pYGUKgyu Open each of them in a new tab.
Step 8. Go to the first links tab that you opened and scroll to the bottom. You will see a box with a bunch of code (right at the bottom of the page) Click inside the box and then hold Contol and A which will auto select it. Copy everything in the box.
Step 9. Go into the shaders folder which is located in the Minecraft.jar (the one you put all the files into) and open up Final.fsh with wordpad or some kind of editing program. (if it wont let you open it up with word just drag final.fsh to the desktop and open it there)
Step 10. Delete EVERYTHING in that file and replace it with the code that you copied from http://pastebin.com/zipUfGgr (put the file back in the minecraft.jar and replace if needed)
Step 11. Do the same with the second link but this time paste the code into gbuffers_basic.fsh.
Step 12. We are not done yet but I advise you to put the texture pack into the texture folder and test Minecraft to make sure you have done everything correctly so far.
Step 13. Go back into your shaders folder and open gbuffers_terrain.fsh with an editing program. I used Notepad++ You will see lines that look like this
const vec3 intervalMult = vec3(0.0039, 0.0039, 4.5); // Fine for 16x16 tile size
//const vec3 intervalMult = vec3(0.0019, 0.0019, 0.5); // Fine for 32x32 tile size
//const vec3 intervalMult = vec3(0.0009765625, 0.0009765625, 0.145); // Fine (presumably) for 64x64
//const vec3 intervalMult = vec3(0.00048828125, 0.00048828125, 0.2); // Fine for 128x128 tile size
Put // infront of the line that does not have the // and copy and paste this line
const vec3 intervalMult = vec3(0.000244140625, 0.000244140625, 0.1);// Fine for 256x256 tile size
under the others. So at the end of all that editing your lines should look exactly like mine
//const vec3 intervalMult = vec3(0.0039, 0.0039, 4.5); // Fine for 16x16 tile size
//const vec3 intervalMult = vec3(0.0019, 0.0019, 0.5); // Fine for 32x32 tile size
//const vec3 intervalMult = vec3(0.00048828125, 0.00048828125, 0.2); // Fine for 128x128 tile size
const vec3 intervalMult = vec3(0.000244140625, 0.000244140625, 0.1);// Fine for 256x256 tile size
Your good to go! Enjoy the epicness of Minecraft!
DON'T FORGET: You MUST turn Sky off in Optifine for the god rays to work!

